
Last updated November 18, 2026
 Wrought iron
 Wood & steel frame
 Farm & ranch
 Sliding driveway gates
 LiftMaster operators
Free on-site gate assessment - hinges, posts, and your LiftMaster or Nice gate operator checked before anything is quoted
The assessment is free and the quote is the invoice.
Get your free estimateDIY vs Professional Gate Motor & Opener: What’s Safe to Do Yourself
I’ll tell you straight: I make less money if you handle your own photo-eye cleaning, battery swaps, and remote programming. I’m fine with that. What I’m not fine with is somebody getting hurt because they thought wiring a motor board was in the same category as changing a battery. Every week someone in Paradise calls us after a weekend project went sideways – a control board fried by a crossed wire, a gate that runs the wrong direction, a warranty quietly voided. This guide draws the line honestly: what you can safely do yourself, what voids your warranty the moment you touch it, and where a pro earns their keep. You’ll learn the balance test most installers skip and why a Paradise gate motor fails differently than one back east.
Quick Answer
Safe DIY jobs on a gate motor are limited to cleaning and aligning photo-eyes, pairing a remote, using the manual release, and basic lubrication of the operator arm and hinges. Anything involving line-voltage 110V wiring, opening the motor housing, or wiring a solar panel into the controller board should be done by a professional – both because it’s genuinely dangerous and because most major brands like LiftMaster, FAAC, and Mighty Mule will deny a warranty claim the moment they see homeowner tampering inside the control box.
Styles & brands we work with
- Wrought iron
- Wood & steel frame
- Farm & ranch
- Sliding driveway gates
- LiftMaster operators
Table of Contents
- What’s Genuinely Safe to Do Yourself
- Low-Voltage vs Line-Voltage: Where the Safety Line Sits
- The Warranty Void Clauses Nobody Tells You About
- The Gate Balance Test That Comes Before Any Motor
- Solar Motor Installs in the Nevada Heat
- Common Mistakes to Avoid
- When to Call a Professional
- Frequently Asked Questions
What’s Genuinely Safe to Do Yourself
There’s a real list here, and it’s not short. If you’re handy and patient, you can handle more than the industry usually admits. Here’s what we tell homeowners in Paradise who call asking if they should attempt a repair before booking us. These four jobs are safe, don’t void anything, and cost you nothing but a Saturday morning.
Photo-eye alignment. The photo-eyes are the two small sensors mounted on either side of the gate opening, usually six to ten inches off the ground. If the gate reverses on its own or refuses to close, misalignment is the first suspect. Wipe both lenses with a soft cloth, check that no weed, rock, or driveway debris blocks the beam, and confirm the brackets haven’t shifted. A gentle nudge of the bracket so the LED on one unit faces the other is fine. That’s it – you’re not adjusting the board.
Remote pairing. Every major brand has a pairing sequence, and it’s printed in your manual or on a sticker inside the operator cover. The sequence is usually a button press on the receiver followed by a button press on the remote. No tools beyond maybe a small screwdriver to open a battery compartment. Fast, reversible, and it doesn’t touch anything the manufacturer cares about.
Manual release operation. Every automatic gate has a manual release – a key, a lever, or a pull cord that disengages the motor so you can swing the gate by hand during a power outage. Learning to use it before you need it is smart. Test it once a season while the weather is mild, not in a storm at 9 p.m. If the release won’t engage smoothly, that’s a repair signal, not a DIY project.
Basic lubrication. A few drops of a lithium-based or silicone lubricant on the operator arm pivot points, hinge pins, and roller track keeps things quiet and reduces motor strain. Avoid WD-40 on the track itself – it attracts dust, and Nevada dust is relentless. Twice a year, more in windy months. That’s the whole job.
- Clean and align photo-eyes
- Pair and reprogram remotes
- Operate and test the manual release
- Lubricate pivots, hinges, and rollers
Low-Voltage vs Line-Voltage: Where the Safety Line Sits
This is the part most homeowners get wrong, and it’s the single most important distinction in the whole DIY conversation. Gate motors use two completely different electrical systems, and they live in the same housing. Understanding the difference tells you exactly where to stop.
Low-voltage wiring runs between the control board and the safety devices – photo-eyes, safety edges, keypads, exit loops. It’s typically 12 to 24 volts, and while you don’t want to be careless with it, the shock risk is minimal. Some homeowners can safely trace a photo-eye wire or reconnect a loose safety-edge lead if they’re methodical and the power is off.
Line-voltage wiring is the 110V (sometimes 220V) supply feeding the motor itself. It comes from your panel or a dedicated circuit and lands on the control board or a transformer inside the housing. That voltage will hurt you. It will also start a fire if a connection is loose or a wire is nicked, and it doesn’t care that you watched a video. In Paradise, where summer heat pushes conduit and connections hard, we’ve seen more than one homeowner-installed line tap fail months later at the worst possible time.
Here’s the line, plain: if you have to remove the cover and reach past the low-voltage terminals to touch the supply wires, you’re past the DIY zone. Full stop. That’s not a sales position – it’s the difference between a phone call and an emergency room visit. If the supply side of your motor needs work, that belongs with a licensed professional. Our Gate Motor & Opener in Paradise page walks through what a proper service call covers.
The Warranty Void Clauses Nobody Tells You About
Warranties on gate operators are narrower than most people assume. The manufacturers don’t advertise this, but reading the fine print on the brands we service – LiftMaster, FAAC, BFT, Linear, Viking, Ghost Controls, DoorKing, Elite, and Mighty Mule – the same handful of clauses appear again and again. Knowing them before you pick up a screwdriver saves a lot of heartache.
Opening the control box. Several brands void the electrical warranty the moment the sealed control housing is opened by anyone other than an authorized technician. Some use tamper-evident seals. Others rely on visual inspection – a stripped screw head or a scuffed gasket is enough to deny a claim.
Third-party parts. Swapping in an off-brand control board, capacitor, or receiver from an online marketplace is a common way to void coverage. The brand-specific parts cost more, but they don’t void the warranty and they actually fit.
Improper installation. If a motor was installed without the required safety devices – photo-eyes, safety edges where specified – the manufacturer can deny a failure claim on the grounds that the install didn’t meet UL 325 standards. That’s a big one in Paradise, where a lot of older installs predate current safety requirements.
Environmental or voltage damage. Most warranties exclude damage from power surges, lightning, and – this surprises people – extended operation in extreme temperatures. If the failure traces to a heat-related issue, the manufacturer will point to site conditions and decline.
If a claim is ever denied on a technicality, that’s the moment a pro earns their fee. We deal with these calls regularly and know which brands are lenient and which aren’t. A free second opinion on any written estimate is one of our standing offers – if you’ve been quoted a replacement and something doesn’t add up, bring it to us.
The Gate Balance Test That Comes Before Any Motor
Here’s a fact that gets skipped in every DIY video on the internet: a gate that doesn’t hold its position when you move it by hand will burn out any motor you put on it, whether you installed it yourself or paid a pro. The motor isn’t designed to lift a sagging gate. It’s designed to move a balanced one. Test the balance first or you’re throwing money at a motor that will fail.
The test takes five minutes and needs no tools beyond your hands. Do it with the motor disengaged using the manual release.
- Disengage the motor. Use the manual release key or lever to free the gate from the operator.
- Open the gate to the halfway point. Right at the middle of its swing or slide. Let go.
- Watch what happens. A balanced gate stays put. A gate that drifts open or closed under its own weight is out of balance.
- Check the full swing. Walk the gate slowly through its entire travel. It should feel even, with no binding, no grabbing, no spots where you have to push harder.
- Inspect the hinge post. A gate sags in the hinge post, not in the middle. Look for movement at the post itself when you swing the gate. That’s where the fix starts.
If your gate fails this test, the motor is the wrong place to spend money. Fix the post, the hinges, the sag, or the roller track – then put a motor on it. In Paradise, our soil movement and summer heat expansion mean hinge posts shift more than people expect. Fixing the panel without the post means you’ll fix it twice. That’s a lesson we’ve had to deliver to more than one frustrated homeowner who bought a motor first.
Solar Motor Installs in the Nevada Heat
Solar-powered gate operators make a lot of sense in Paradise, particularly for rural properties and long driveways where running conduit to a power source is expensive or impossible. The good news is that a meaningful piece of a solar install genuinely is homeowner-friendly. The bad news is that the part that matters most isn’t.
DIY-reasonable: mounting the panel on a post or bracket, aiming it toward the southern sky, and cleaning it monthly. Paradise sits at a latitude where panel angle matters – a fixed panel tilted at roughly the site latitude plus five degrees captures consistent sun year-round. Making sure the panel isn’t shaded by a mesquite or a fence line through the peak hours is a homeowner job and a good one. A dirty or shaded panel causes more low-battery complaints in Paradise than any hardware failure.
Not DIY: wiring the panel to the charge controller and the controller to the motor board. That’s DC wiring with polarity requirements, fuse placement, and voltage limits specific to the controller. Hook it up backwards and you’ll fry the board – which is exactly the kind of damage the warranty won’t cover, because the manufacturer will point to improper installation. Same rule applies as everywhere else: if you’re reaching past the low-voltage terminals into the controller, call a pro. Our team is certified across nine major gate brands including FAAC and Elite, which handle solar integration differently enough that it pays to have someone who’s done both. If the install needs a new motor entirely, our Gate Installation in Paradise page covers what full solar setups involve.
See the difference
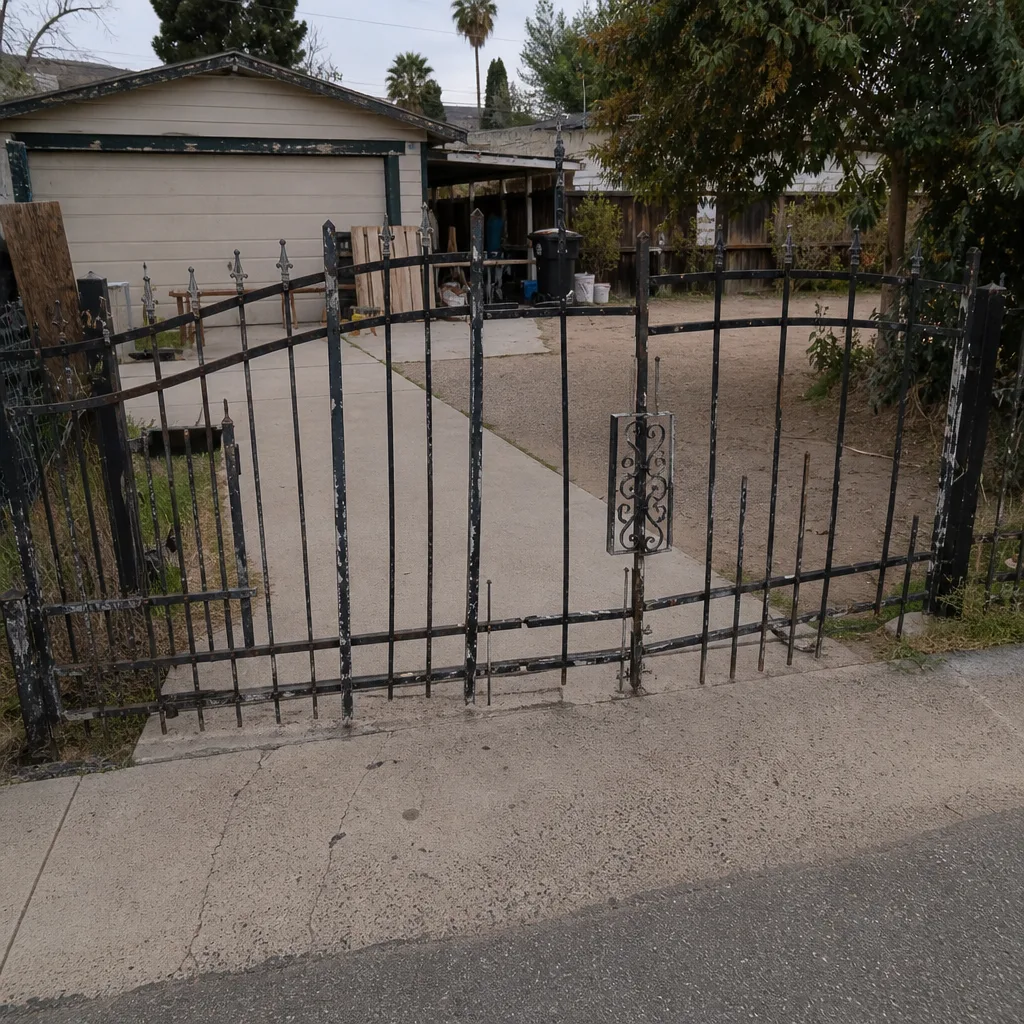 Before
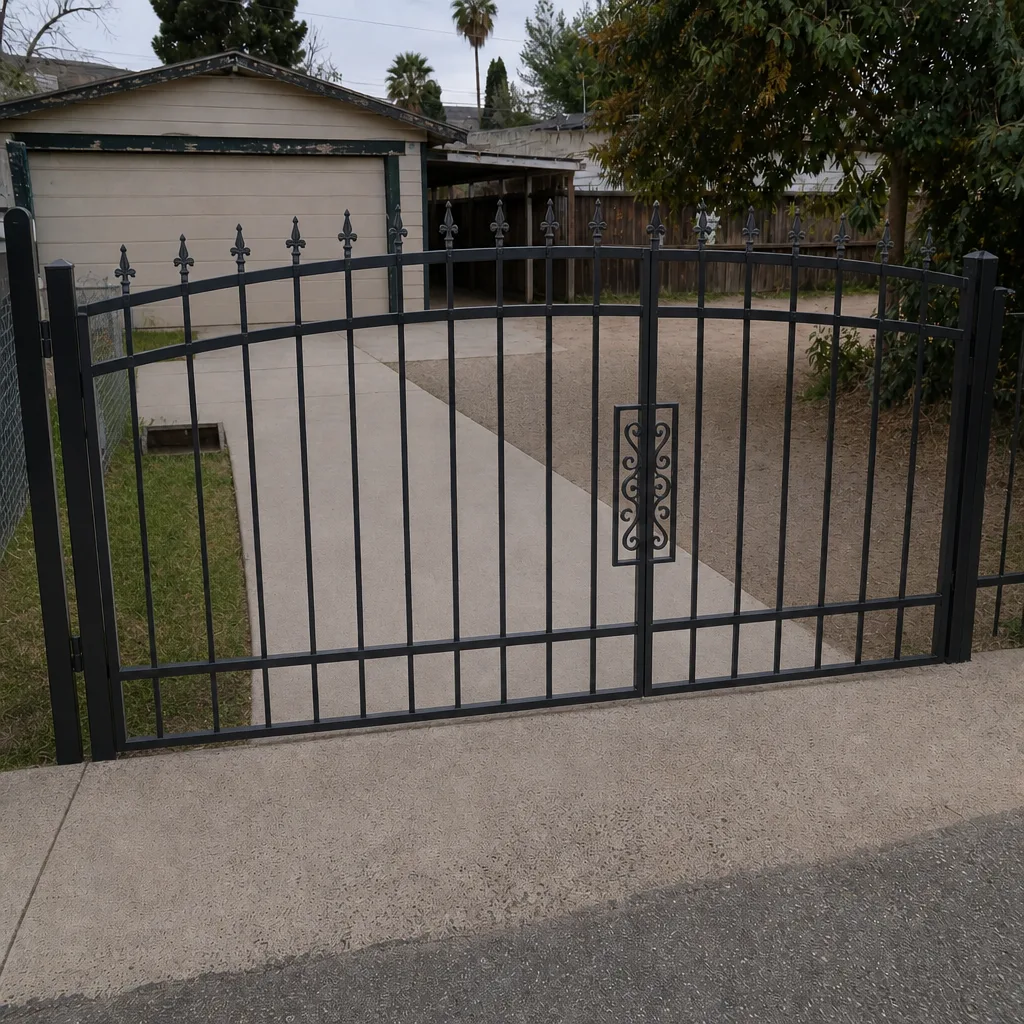 After
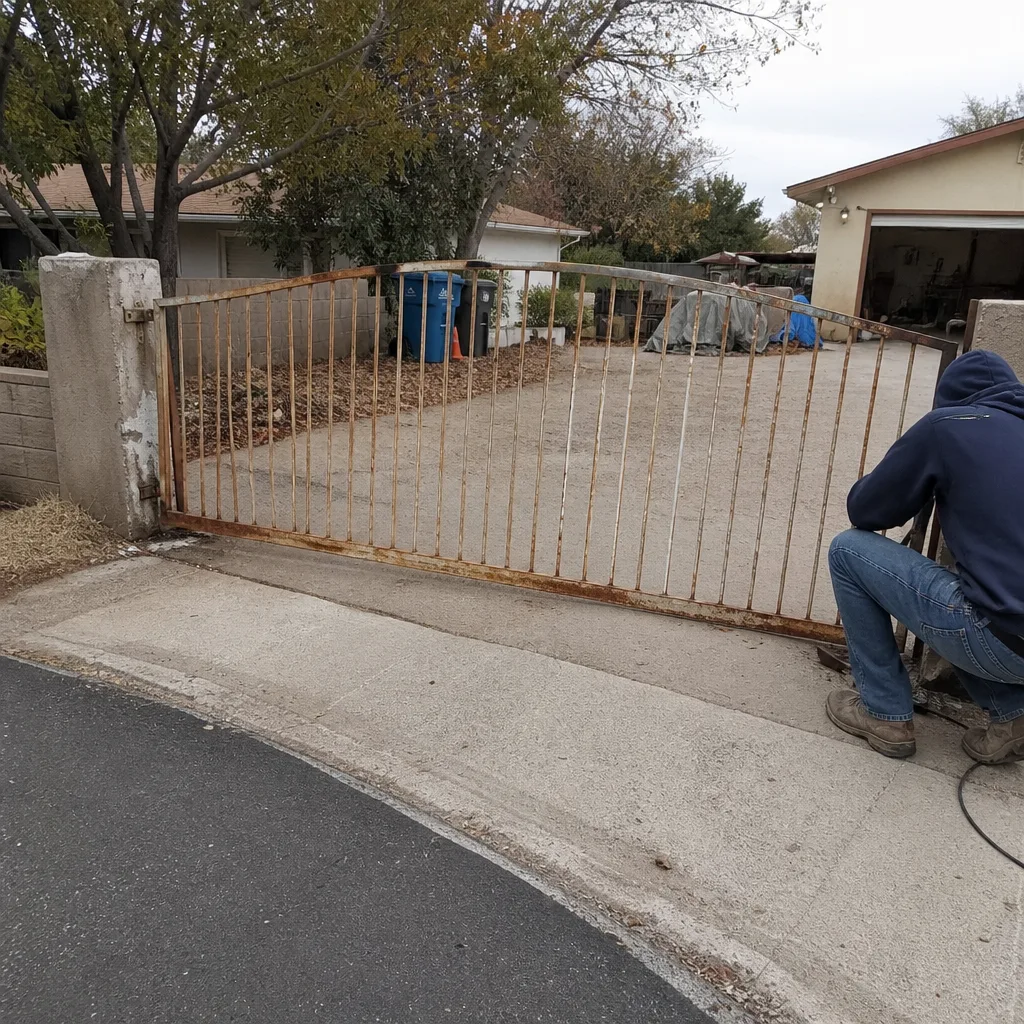 Before
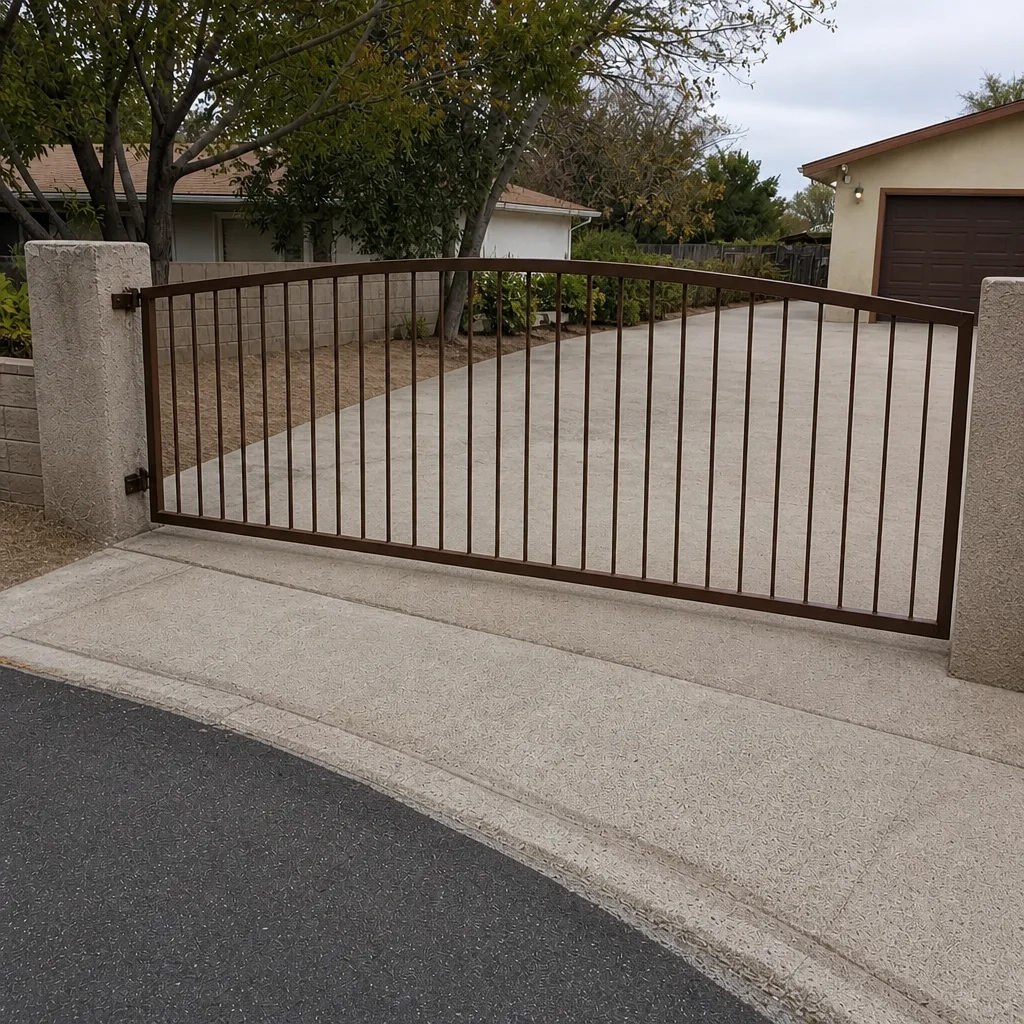 After
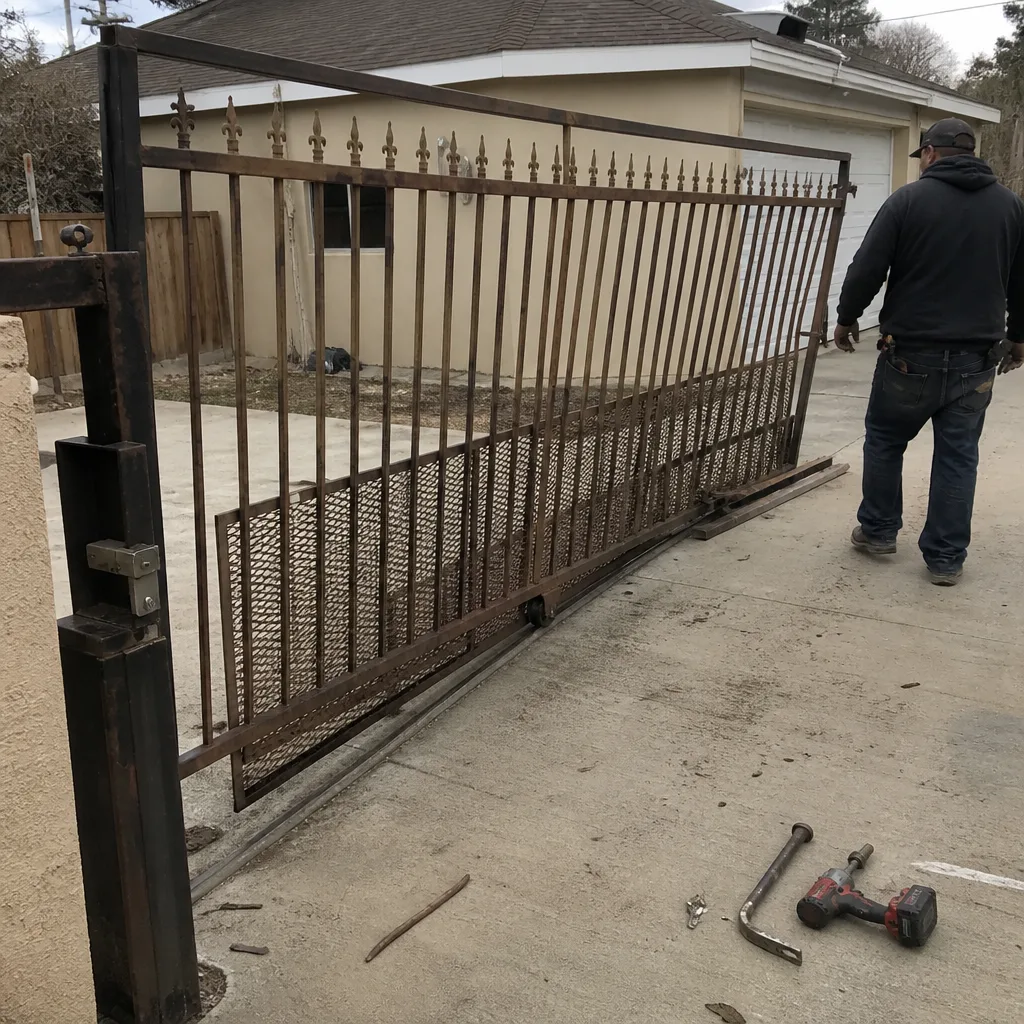 Before
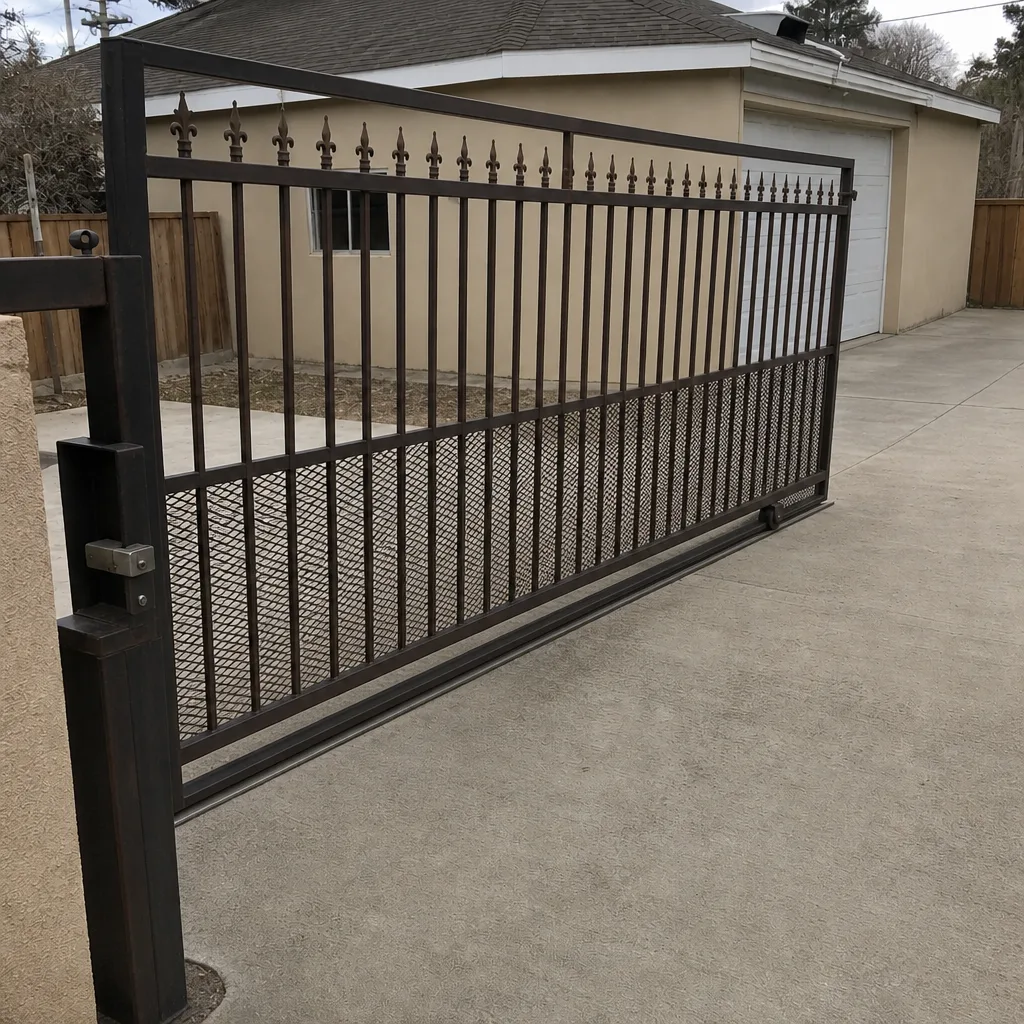 After
Common Mistakes to Avoid
These are the patterns we see most often, in Paradise and around it. Every one of them is avoidable.
- Installing a motor on an unbalanced gate. A motor on a gate that doesn’t hold its position will die an early death and take the warranty with it. Test balance first, every time.
- Crossing a low-voltage wire onto a line-voltage terminal. This is the mistake that ends in a burned-out board, a blown fuse, or worse. The terminals are close together inside the housing – one mistake and the motor is done.
- Buying a motor without confirming the brand will honor the install. Some cheaper motors have warranty terms that exclude everything but the original factory install. Read the fine print before you buy, not after it fails.
- Adjusting the limit switches without knowing what they do. Limit switches tell the motor where to stop. When they’re off, the gate slams into its stop – which bends the frame or tears the operator loose. If the gate overshoots, get the limit checked.
- Ignoring the photo-eye for months on end. A dirty or misaligned photo-eye will make a gate reverse unpredictably – and in Paradise that dust builds up faster than most homeowners expect. Clean them monthly.
- Skipping the manual release test. Every motor has one, and every homeowner should know how to use it before a power outage forces the lesson. Test it once a season.
- Attempting a solar controller hookup without checking polarity. DC wiring has a right way and a wrong way, and the wrong way costs you a board. This is a $20 fuse that saves a $400 controller – if you know where it goes.
When to Call a Professional
Call a pro when the job involves line-voltage wiring, opening the control box on a warranty-tagged unit, replacing the board or transformer, diagnosing an intermittent fault that doesn’t follow a pattern, or installing a new motor on a gate that’s already failing the balance test. Also call if a gate reverses unpredictably and photo-eye cleaning didn’t fix it – that’s a safety issue, not a Saturday project. And call if a warranty claim has been denied and you want a second set of eyes on it. Gatewood Fence & Gate Paradise offers free estimates in Paradise – call (888) 292-7536. We’ll tell you straight whether you can handle it yourself or whether it’s time to bring the truck.
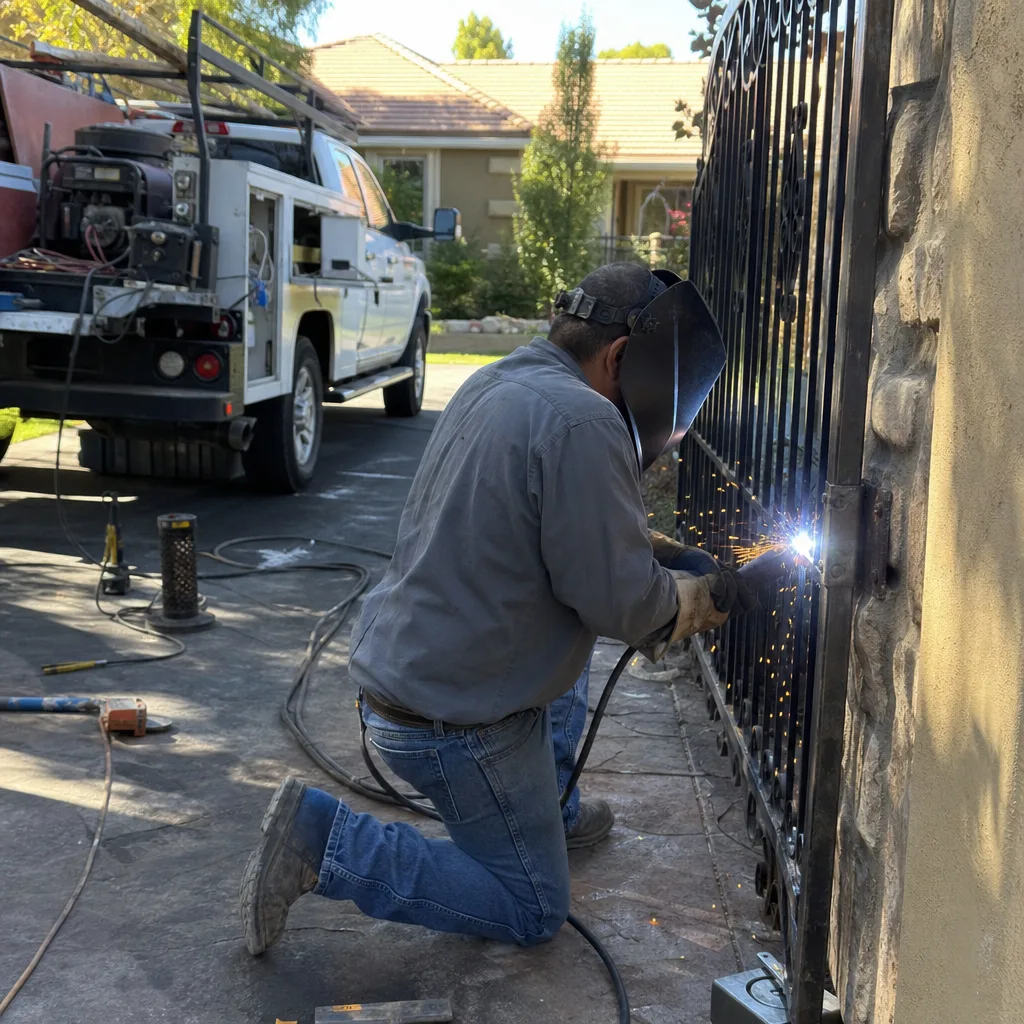
Fixing the gate in the driveway rather than hauling it away is what we prefer, and on-site welding saves you both the hassle and the fee. Our Gate Repair in Paradise page lists what we handle on a service call, and our Gatewood Fence & Gate Paradise home page gives you the full picture of what we do.
Frequently Asked Questions
Yes – photo-eye cleaning and alignment is one of the safest DIY jobs on a gate motor. Wipe both lenses with a soft cloth, clear any debris or weeds from between them, and confirm the alignment LED on one unit faces the other. If the gate still reverses after that, the problem is elsewhere and worth a professional look.
On most major brands, yes. LiftMaster, FAAC, BFT, Linear, and several others use tamper indicators or visual inspection to deny coverage when the sealed control housing has been opened by anyone other than an authorized technician. Read your warranty before you open anything, and if a claim gets denied, call us for a free second opinion on the estimate.
Low-voltage is the 12-24V wiring that runs to photo-eyes, safety edges, and keypads – minimal shock risk. Line-voltage is the 110V supply feeding the motor from your panel – that’s dangerous and can start a fire if connected wrong. If you need to touch anything past the low-voltage terminals, stop and call a pro.
Heat is the usual suspect. Extended operation in Nevada summer temperatures pushes the motor harder than most manufacturers rate it for, and if the gate is out of balance the strain multiplies. Run the balance test first – if the gate doesn’t hold its position by hand, fixing that will extend the motor’s life more than any repair.
No – that’s the one part of a solar install that should stay professional. Mounting and aiming the panel is fine, but wiring the panel to the charge controller and the controller to the motor board involves DC polarity, fuse placement, and voltage limits that fry a board if you get them wrong. Warranty coverage usually excludes that kind of damage.
Sometimes. Clean the photo-eyes first, and check that nothing is blocking the beam. If the reversal continues after that, it’s either a misaligned sensor, a failing safety edge, or a board-level fault – all of which need a trained eye. Stop using the gate and call (888) 292-7536 for an estimate.
Yes – we’re certified to service nine major brands including LiftMaster, FAAC, BFT, Linear, Viking, Ghost Controls, DoorKing, Elite, and Mighty Mule. Parts, programming, and safety devices are all handled in-house, and every job carries the 90-Day Done Right Promise in writing.
The Bottom Line
You can do more than the industry usually admits – photo-eyes, remotes, manual release, lubrication, and the balance check are all yours to handle. But line-voltage wiring, control box access, board replacement, and solar controller hookups are the places where DIY stops being thrifty and starts being dangerous or warranty-voiding. Run the balance test before you spend a dollar on a motor. Clean the photo-eyes before you blame the board. Read the warranty before you pick up a screwdriver. And when the job crosses that line – which it eventually will – you want someone who knows the brands, works on-site, and stands behind the work with a written promise. Our team has up to 25 years of experience on gates in and around Paradise, and calls are answered by a live person around the clock.
Ready to take the next step or get a straight answer on your gate? Call (888) 292-7536 for a free estimate. Standing offers include $40 off any repair over $200, no trip charge inside the county, a free second opinion on any written estimate, and a permanent 10% discount for seniors and veterans.
Written by the team at Gatewood Fence & Gate Paradise.