
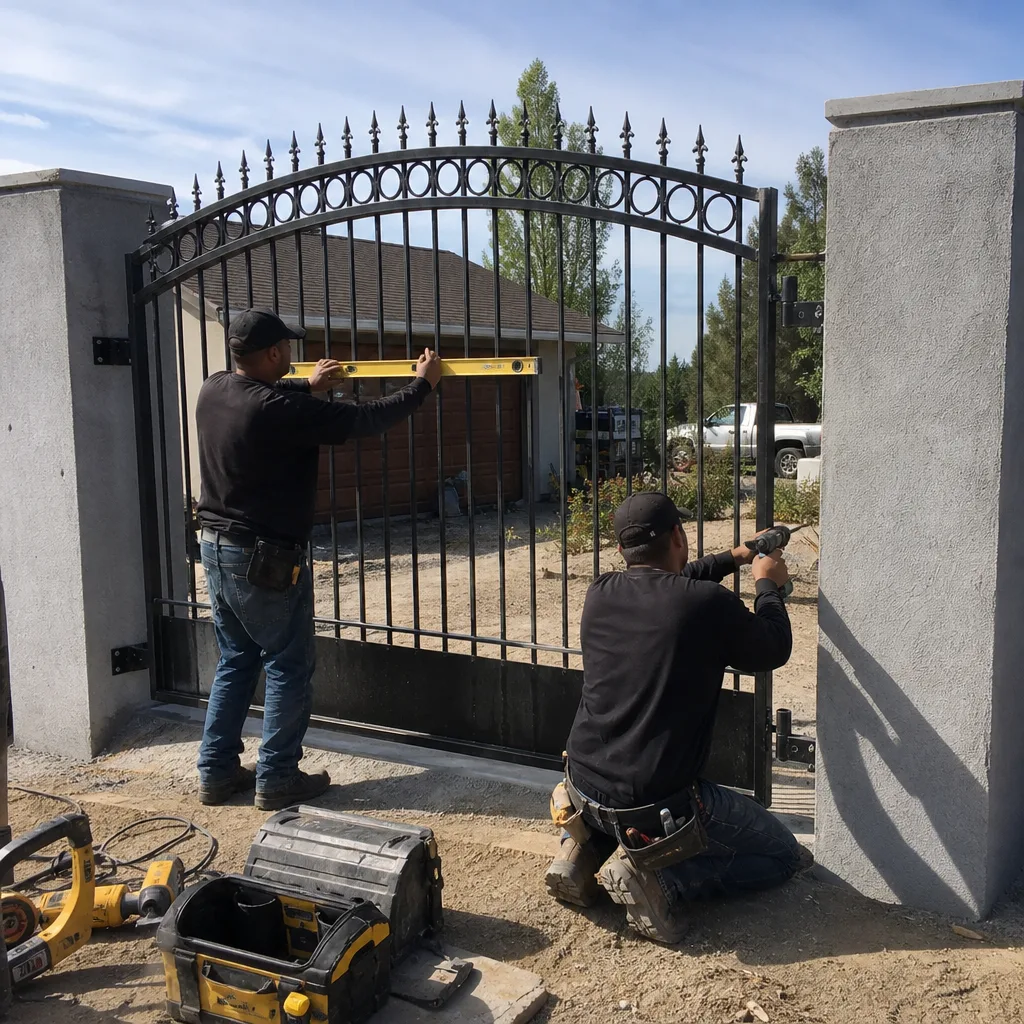
Last updated November 18, 2026
 Wrought iron
 Wood & steel frame
 Farm & ranch
 Sliding driveway gates
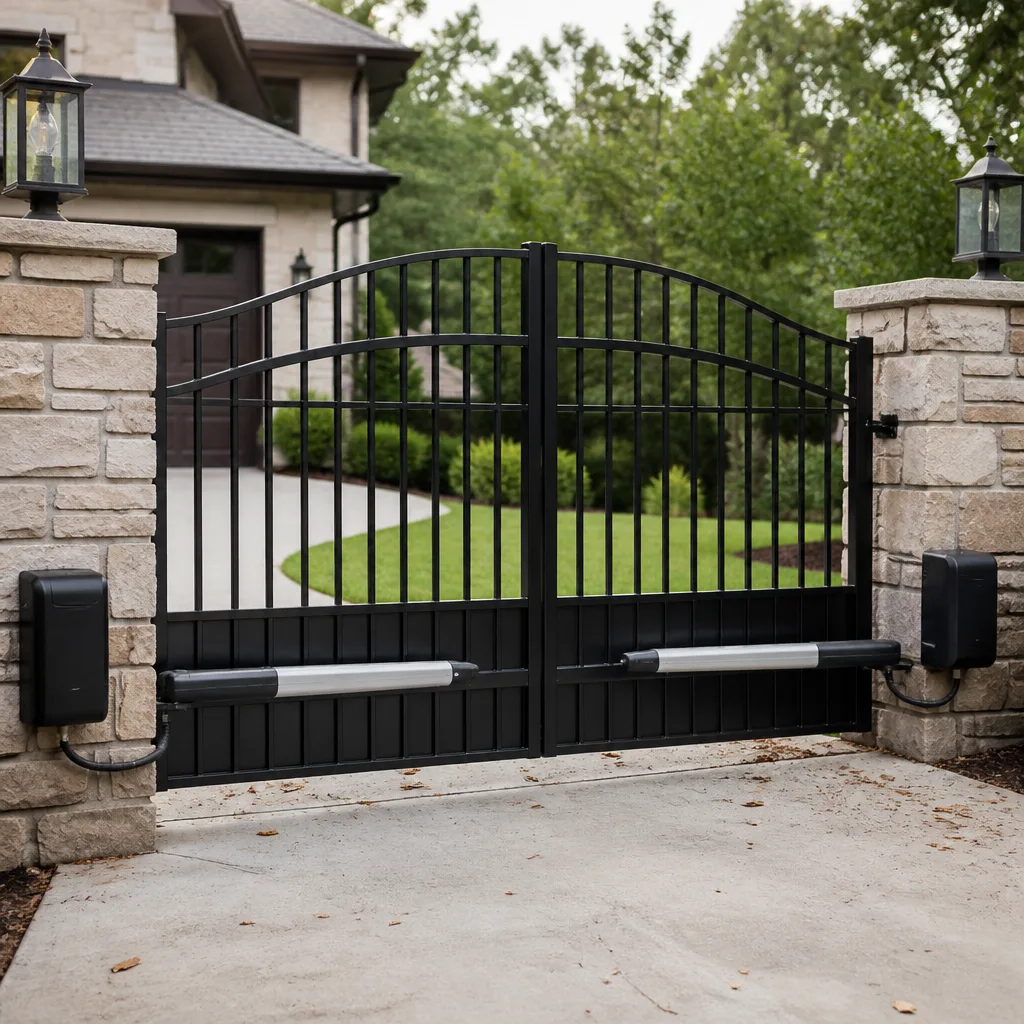 LiftMaster operators
Free on-site gate assessment - hinges, posts, and your LiftMaster or Nice gate operator checked before anything is quoted
The assessment is free and the quote is the invoice.
Get your free estimateGate Installation Warning Signs Every Homeowner Should Know
I’ve pulled gates off posts that were set in a coffee-can-sized hole with two bags of Quikrete. Looked plumb on install day. Looked like a drunk at six months. The homeowner had no idea what to check when the crew packed up, and by the time the gate started dragging, the installer’s number was dead and the warranty was one paragraph of nothing. That’s the pattern we see over and over around Paradise. Bad gate work doesn’t announce itself. It waits for the first hard wind, the first hard pull, the first summer that bakes the ground. This guide covers the warning signs you can catch before the crew leaves your driveway and the ones that show up months later, so you don’t pay twice for the same gate.
Quick Answer
The most common warning signs of a bad gate installation are: a post that wobbles when you push it side to side, a hinge that’s tack-welded instead of fully welded, a swing arc with more than a quarter-inch of play at the latch, and paperwork with no company address and a vague warranty. Catch any one of these on install day and you’ve saved yourself a repair bill. Catch them at six months and you’re usually replacing hardware or footing you already paid for.
Styles & brands we work with
- Wrought iron
- Wood & steel frame
- Farm & ranch
- Sliding driveway gates
- LiftMaster operators
Table of Contents
- 1. The Post-Wobble Test: What to Do Before the Crew Leaves
- 2. What a Proper Hinge Weld Looks Like (and What Doesn’t)
- 3. The Swing Arc and the Quarter-Inch Rule at the Latch
- 4. Why Unequal Post Depth Racks Your Gate in Desert Heat
- 5. The Warning Signs Buried in the Paperwork
- 6. “Installation Only” Disclaimers That Void Your Hardware Warranty
- 7. What a Sloppy Operator Mount Looks Like
- 8. Paradise Ground, Wind, and the Caliche Problem
The Post-Wobble Test: What to Do Before the Crew Leaves
Here’s the single most useful thing you can do on install day. Once the gate is hung and the crew is packing up, walk up to each post, put both hands on it at shoulder height, and push it side to side. Hard. Then push it front to back. A properly set post moves zero. Not a millimeter. Not a little shimmy. Zero.
The push test finds what a visual inspection can’t. A post set in a hole too small, or in soil that wasn’t compacted, or with too little concrete for the gate span, will look perfectly upright on day one because the concrete hasn’t fully cured and the weight hasn’t loaded yet. Push it and you feel it shift. That shift is the whole show. That’s the gate sagging in three months.
How to run the test in order:
- Push each post laterally (side to side) with real force. It should not move.
- Push each post front to back (the direction the gate swings). It should not move.
- With the gate half-open, put your weight on the leading edge and try to twist the gate head. The post should not rock.
- Look at the concrete at the base. It should be crowned slightly above grade and moist, not dry and cracked. A footing that’s already cracking means it set too fast or too dry.
We do this test on every install we finish around Paradise, because once we’ve driven off, the homeowner owns that post whether it’s right or not. If it isn’t right, it’s ours to fix inside the 90-Day Done Right Promise. If the crew that just installed yours won’t put the same thing in writing, that’s a sign, and it’s a big one.
What a Proper Hinge Weld Looks Like (and What Doesn’t)
A gate weighs what it weighs, and every time it swings, the hinge takes that load and passes it into the post. A weld that can’t pass the load will crack, and it’ll crack on the side you can’t see from the driveway. That’s the kind of failure that shows up as a gate hanging crooked with no obvious damage.
What to look for at each hinge:
- A continuous bead around the full hinge barrel. Not three tacks. Not a skip-weld. A full pass, ground clean, with the crater filled.
- No undercut. Undercut is a groove the arc melted into the parent metal, and it’s where a weld fails first. Run your finger along the weld. It should feel level or slightly proud, never sunken.
- No spatter left to fester. Spatter is harmless to the eye but tells you the welder wasn’t running clean settings.
- Paint or powder coat over the weld. A weld someone bothered to protect is a weld someone expects to last. A raw weld is an invitation to rust, especially in Paradise where a dusty wind kicks up most afternoons.
Tack-welding is fast. It’s also the reason we cut a lot of hinges off gates that are barely a year old. A tack weld has next to no penetration into the post tube, and under a gate that’s 6 to 8 feet wide with any weight to it, that tack line is going to open up on a load cycle you can count in weeks. On-site welding in a driveway is the fix, and it’s the reason we don’t haul gates to a shop to solve what a good bead can solve on site.
The Swing Arc and the Quarter-Inch Rule at the Latch
Show me a gate closing on its own and I’ll show you where it’s failing. A gate that won’t stay open, or swings itself shut, is a gate whose plumb is off. That’s the framing, the posts, the concrete, or all three, and the latch is where it shows up first.
Here’s the check, and it takes ten seconds. Open the gate to the halfway point and let it go. It should stay where you set it or drift slowly. If it drifts hard toward open or closed, the post isn’t plumb.
Next, close the gate and put it against the latch. With the latch engaged, see how much the gate moves left to right at the latch point. A quarter inch of play is the limit. More than that and the gate is never going to self-latch in a wind, and a gate that doesn’t self-latch is a gate that gets propped with a brick, and a gate propped with a brick is a gate with a bent frame six months later. The quarter-inch rule exists because the latch tolerates some play and the swing geometry doesn’t.
If the play is more than a quarter inch and the posts are dead solid, the gate isn’t square. If the posts are solid and the gate is square and the latch still won’t catch, the hardware is misaligned or mismatched for the frame size. We see mismatched hardware a lot around Paradise on gates that were bought at a big-box store and hung with whatever latch was cheapest that week.
Why Unequal Post Depth Racks Your Gate in Desert Heat
Deep groundwater, shallow groundwater, clay, sand, caliche. The footing depth should match the gate span and the soil, and it should match on both posts. When one post is set 18 inches down and the other on 36 inches of decent concrete, the shallow one has less to fight the ground with. Both look fine at install. Both look fine at three months.
At month five, the summer ground heat starts moving moisture through the top of the soil profile. The shallow post settles slightly because its base is in the zone that dries and re-expands. The deep post doesn’t move. The gate racks. The latch stops catching. The gate starts to drag or corner-bind. Then the homeowner calls somebody for a “gate repair,” and the repair is really an install correction.
How to spot unequal post depth without digging:
- Measure from post base to the top of the footing. Both sides should match if the ground is level. Differences up to an inch are normal. More than that on level ground is a shortcut.
- Look at the concrete crown. A well-set footing is crowned above grade like a small dome. A footing that’s flush or below grade collects water, and water is what moves it.
- Test for post rotation. Put a wrench on the bottom hinge bolt and try to turn the post with the gate. It should not give.
- Watch the gate for a week. If it binds in the morning and frees up by afternoon, the ground is moving the post, and the ground moves because the footing is too shallow to lock it.
A gate sags in the hinge post, not in the middle, and that is where we start on every repair call. Fix the panel without the post and you’ll fix it twice.
The Warning Signs Buried in the Paperwork
The paperwork is where the bad install hides its escape hatch. Read the invoice and warranty before you sign. If any of these appear, you’re looking at a company that plans to be somewhere else when the gate fails:
- No company address printed on the invoice. Just a phone number and a first name. The name is on the shop or it isn’t.
- A warranty that says “workmanship guaranteed” with no duration. That’s not a warranty. That’s a suggestion. Ours is written plain: 90 days, done right or we come back.
- No license number. In Nevada you can look it up. If the number isn’t on the paperwork, that’s the whole answer.
- Warranty that excludes “settling,” “ground movement,” “weather,” or “normal wear.” Nearly every gate failure is one of those four. An installer who excludes them isn’t warranting the gate, they’re warranting the paint.
- Warranty void if anyone else touches the gate. Fine, in principle, but it becomes a get-out when you call about a genuine install defect and they claim your neighbor’s kid leaned on it.
Why does this matter so much? Because a gate isn’t a purchase, it’s a relationship with the person who installed it. If the paperwork doesn’t have a name and an address you can drive to, you aren’t in a relationship, you’re in a transaction that ended the moment the crew left the driveway.
“Installation Only” Disclaimers That Void Your Hardware Warranty
This one is easy to miss and easy to get burned by. Most gate hardware and operator manufacturers, including big names like BFT, Linear, and Ghost Controls, warrant their products on the condition the product is installed to spec. Read that as: install it wrong and the warranty is void, and the customer eats it.
An “installation only” disclaimer is the installer telling you in writing that they aren’t responsible for how the hardware performs once it’s in the ground. Sometimes that’s legitimate, when the homeowner supplied the hardware. Most of the time it’s a way to do cheap work and hand you the risk. If the company you hired chose the hardware, sized the gate, and set the posts, that hardware is their problem whether the disclaimer says so or not.
Ask the installer, before they start, this exact question: “If this operator fails in the first year and the manufacturer says the installation wasn’t to spec, who pays?” A straight answer takes ten seconds. A vague one tells you what you need to know.
What a Sloppy Operator Mount Looks Like
An automatic gate is a mechanical install inside a structural one, and it fails in its own pattern. The warning signs at the mount:
- The operator arm isn’t parallel to the gate line. It should sit close to parallel through the swing. Angle it off and you get binding, strain on the gearbox, and premature motor failure.
- Limit switches are set approximate. The gate should stop at the same place every cycle. If it over-travels and slams the stop, the switches weren’t dialed in, and eventually something cracks.
- No safety edges, no photo-eye, no reversing test. Any automatic gate should detect an obstruction and reverse. Ask the installer to run the reversing test in front of you, by hand, with a physical obstruction in the path.
- Power run is surface conduit stapled to the post and across the ground. A proper power run is buried or in rigid conduit, and it doesn’t sit in standing water.
- No disconnect or manual release demonstrated. You should know how to open the gate by hand before the installer’s van pulls away.
Automatic gates have real risks. Photo-eyes and safety edges exist because a gate that reverses late can hurt someone. If your installer skipped either, the gate isn’t complete, no matter how smoothly it cycles in the driveway. That’s the sort of thing we check on every motor and opener call, and it’s often why we’re there in the first place.
Paradise Ground, Wind, and the Caliche Problem
Paradise sits on ground that doesn’t treat gate footings like the brochure says it will. Caliche runs under a lot of the newer subdivisions east of town, and it will laugh at a hand auger. A crew that plans to set a post in six bags of concrete and a hand-dug hole is going to be there all afternoon, or they’re going to set shallow and move on. Ask, on the walk-through, how they plan to break through caliche if they hit it. The good crews have an answer ready.
Paradise wind is the other thing. Afternoon gusts in the spring and early summer load a gate harder than any swing test. That’s why post depth, footing size, and a properly welded hinge matter more here than in most climates. A gate built for a soft climate gets tired in Paradise. We see spring failures from wind load on gates that were set with undersized concrete, and we see it most on wide single-swing gates with no operator, because there’s nothing holding the gate steady except the posts and gravity. Storm season makes it worse.
If your gate’s already up and you want a second set of eyes on the footing, hinge work, or the operator, call us.
Common Mistakes to Avoid
We’ve seen the same list of install mistakes on repair calls across Paradise for years. These are the ones that cost the homeowner money twice.
- Paying the final invoice before the push test. Once the tile is down and the paperwork is signed, you’ve accepted the install. Run the wobble test before you hand over the check, every time.
- Taking the installer’s word that “it’ll settle in.” Gates don’t settle into better alignment. They settle into worse. If it isn’t right on install day, it isn’t going to be right in a month.
- Hiring off a phone quote alone. The national outfits quote one number on the phone and a different number at the door. A local installer looks at the gate, the posts, and the ground before quoting. A quote without a look is a wild guess with a markup.
- Letting the installer skip the reversing test on an automatic gate. Put a hand in front of the photo-eye and the gate should reverse. If the installer won’t demonstrate it, the safety system isn’t finished.
- Not asking about caliche. Around Paradise, an unknown caliche layer is the most common reason a footing comes out shallow. Get the plan in writing.
- Filing the warranty without reading it. The warranty is where the escape hatch lives. Read the exclusions before you sign, and if there’s no address on the invoice, don’t sign at all.
- Ignoring the quarter-inch rule because “it works today.” A latch with too much play works right up until the first evening the temperature drops and the frame contracts. Then it doesn’t.
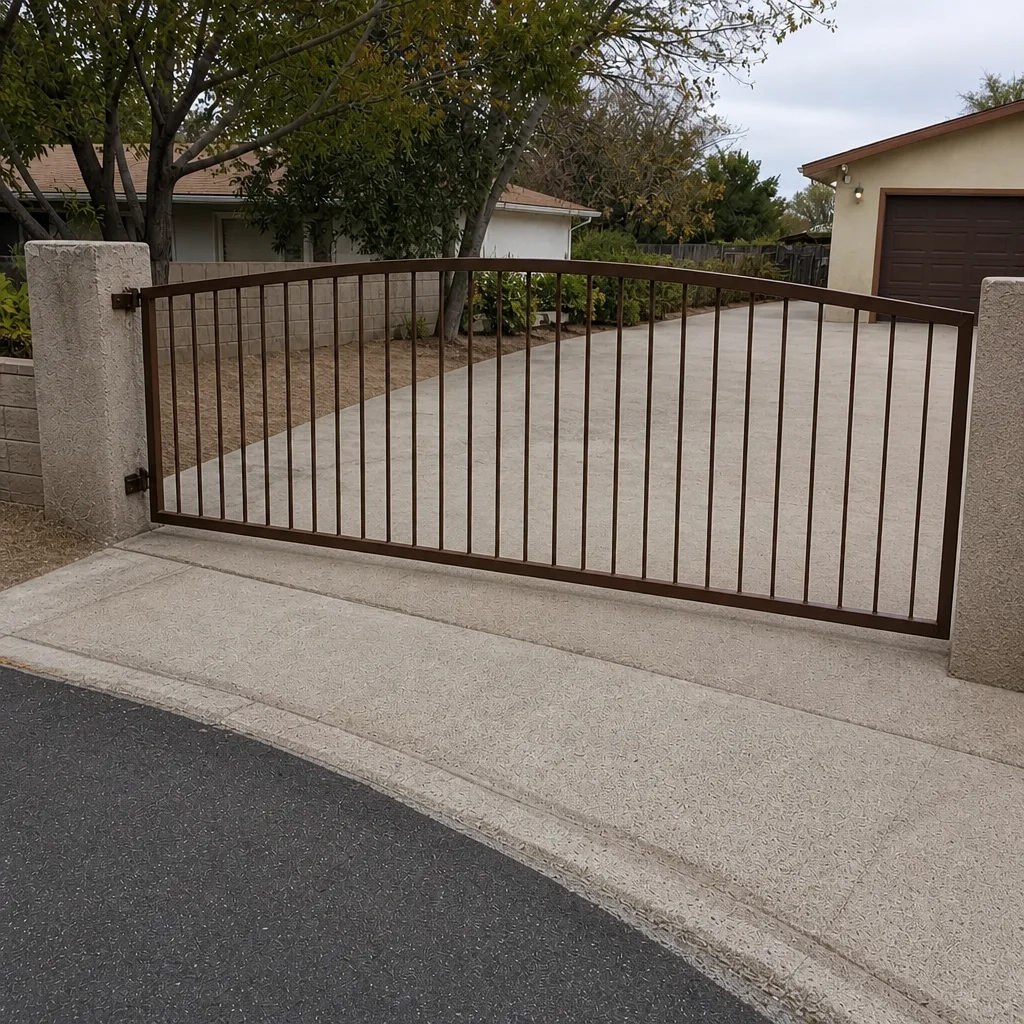
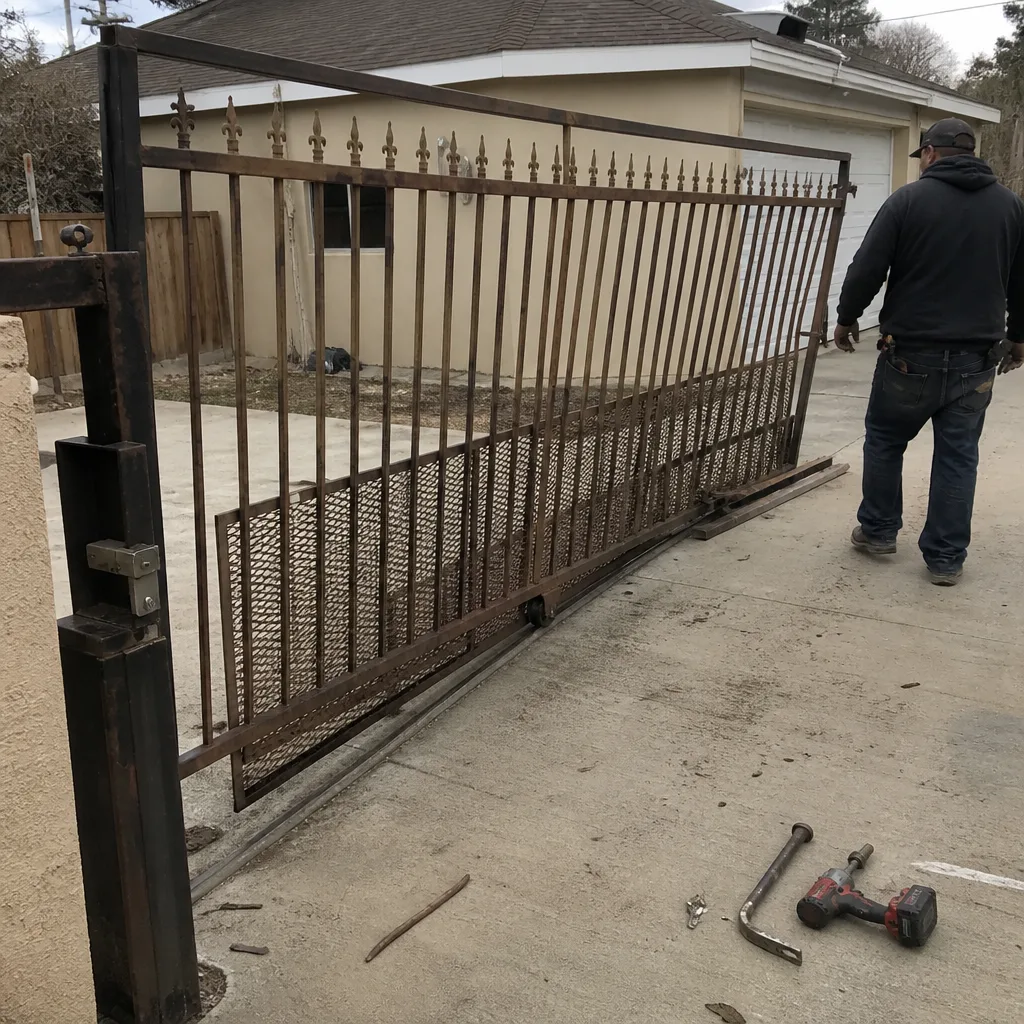
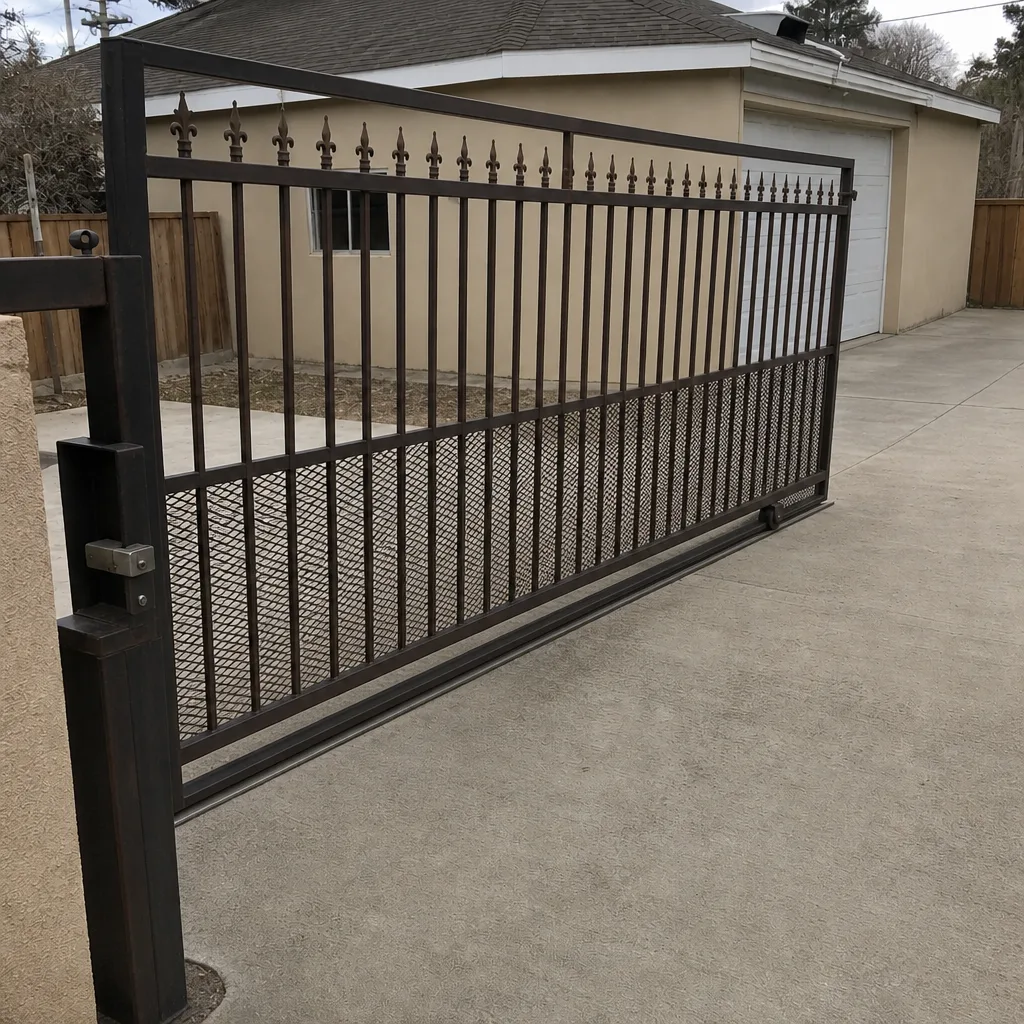
See the difference
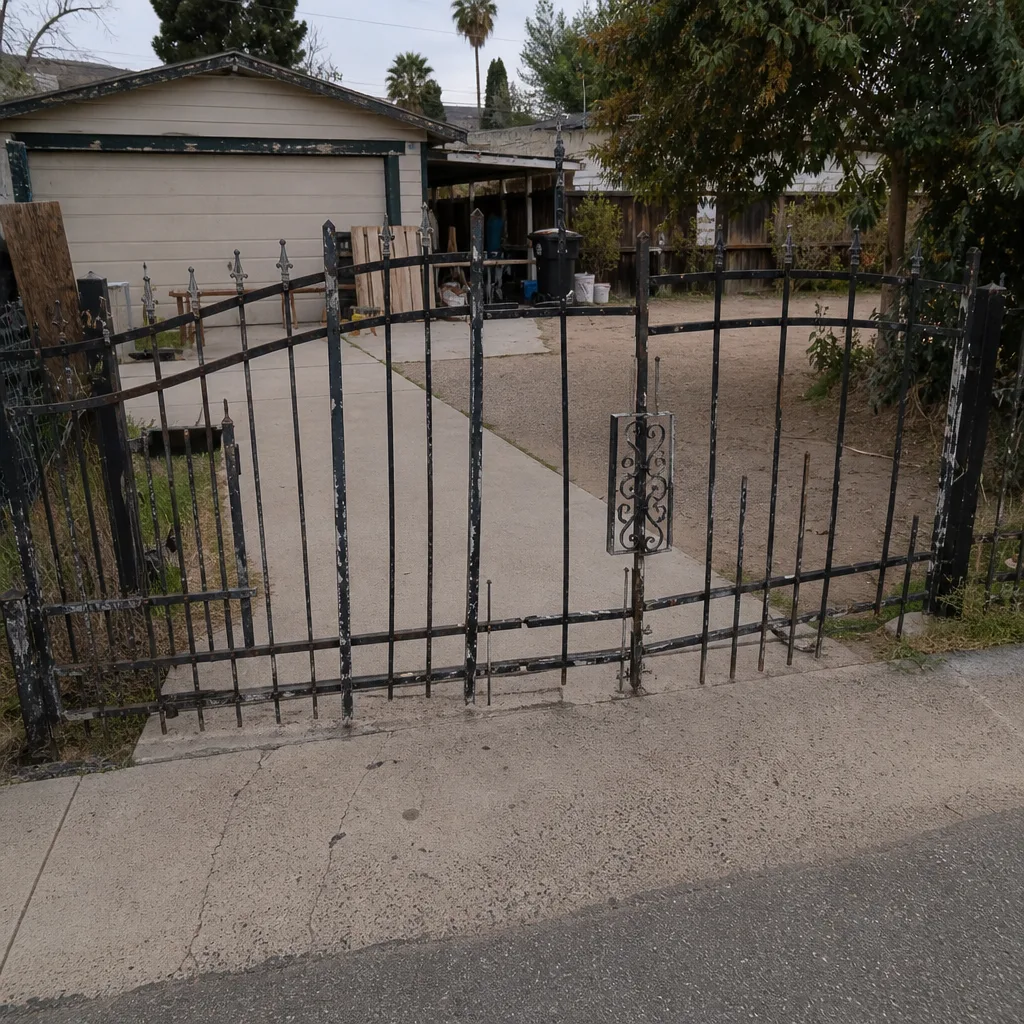 Before
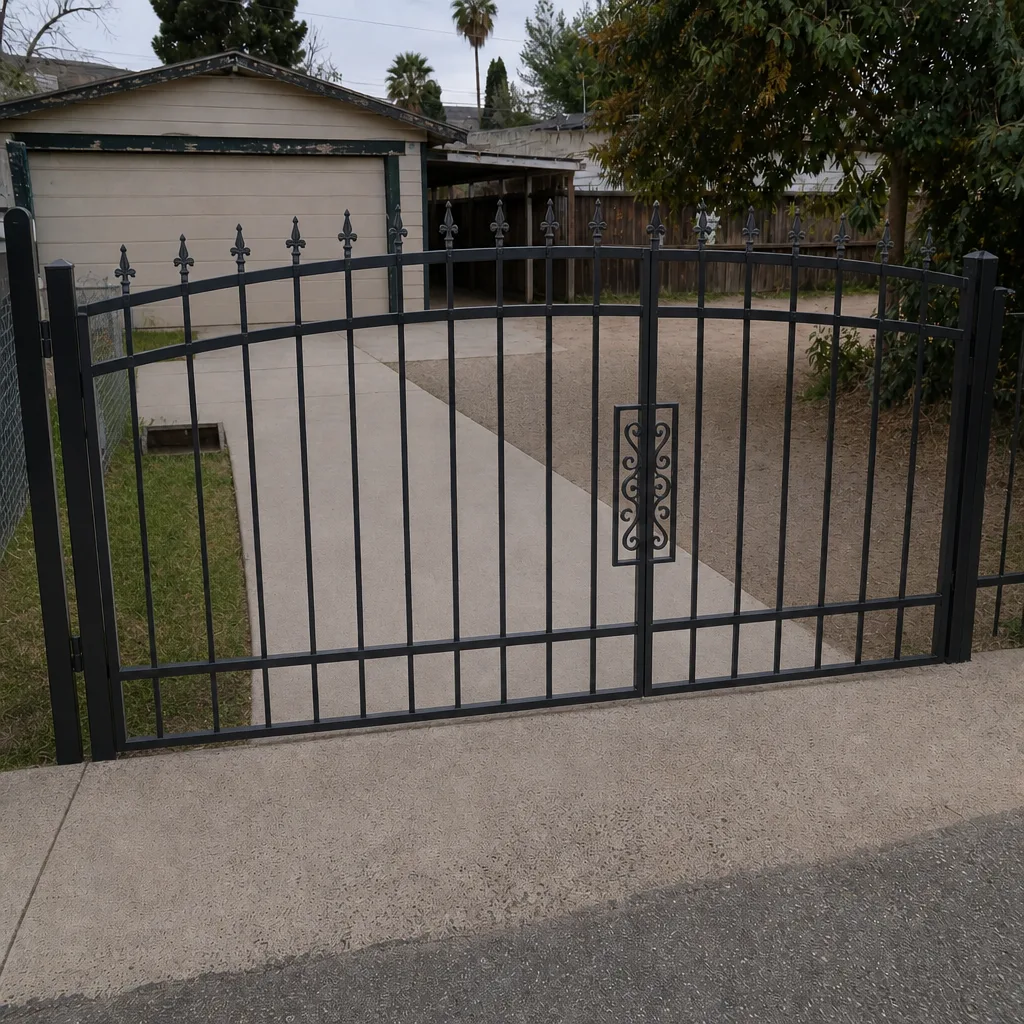 After
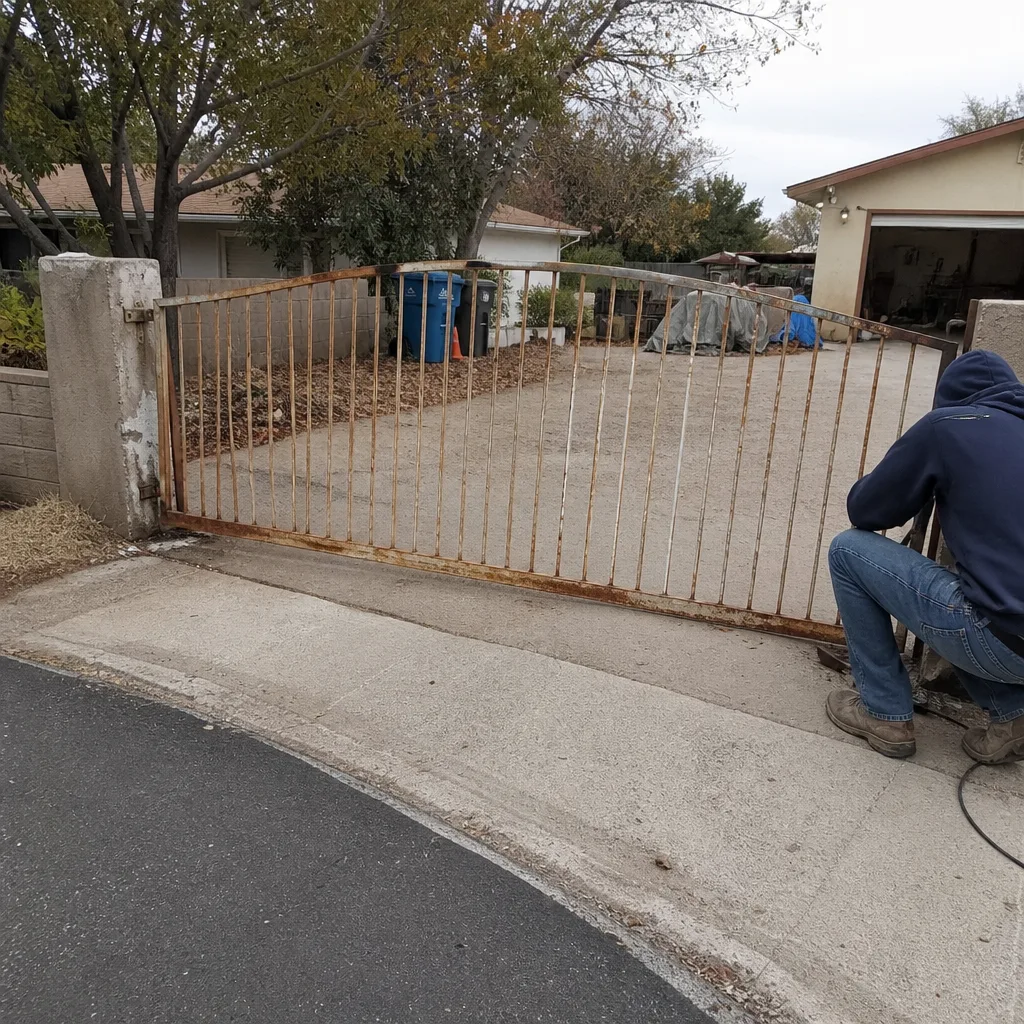 Before
 After
 Before
 After
When to Call a Professional
Some of these warning signs you can check with your own two hands. Others are safer in a pro’s. Call someone when: your gate wobbles at the post and you don’t have a way to reset it, the hinge has cracked or pulled out of the frame, the automatic operator reverses inconsistently, the safety photo-eye is damaged or missing, the footing has lifted or sunk visibly, or the installer’s warranty number doesn’t reach a person. The high-tension spring on an automatic gate and the operator’s electrical run are genuinely dangerous, and we don’t recommend working on either without training. Gatewood Fence & Gate Paradise offers free estimates in Paradise. Call (888) 292-7536 and a live person will pick up, day or night.
Frequently Asked Questions
Push each post hard side to side and front to back. Any movement means a bad install. Then check the latch play (should be a quarter inch or less), the hinge welds (continuous bead, not tacks), and the paperwork (address, license number, real warranty). Any one failure is enough to call the installer back before you sign off.
A post reset in Paradise typically runs $250 to $450 per post including concrete. A hinge re-weld is usually $150 to $300 depending on how many hinges. Correcting an operator mount is often $200 to $400. We quote the number before we start, and the price doesn’t change at the door. Call (888) 292-7536 for a free second opinion on any written estimate.
Yes. A tack weld has almost no penetration into the post tube and will crack under normal gate load in weeks to a few months, not years. The fix is to cut the hinge off and weld it full around the barrel. We do that on site, in the driveway, so the gate doesn’t leave your property.
Because the post is out of plumb or the footing has moved. Gravity finds the low side, so the gate drifts toward whichever post leaned. It’s been that way since install day but nobody noticed until the gate stopped latihing in wind. The fix is a post and footing correction, not a latch replacement.
Yes, for the push test at minimum. The whole inspection takes about five minutes and has to happen before you pay the final invoice. If you can’t be there, ask the installer to film the push test on each post and send it to you before you release payment.
The installation warranty covers the work, meaning the posts, hinges, alignment, and footing. The hardware warranty comes from the manufacturer (BFT, Linear, Viking, and others) and is voided if the install wasn’t to spec. You want both, in writing, with a company address on the paperwork. Ours is the 90-Day Done Right Promise, plain and printed.
The Bottom Line
Bad gate installation doesn’t show itself on day one. It shows itself when the first hard wind hits, when the first hard pull happens, or when the first summer heat cycle moves the ground, and by then the installer is long gone. The fix is to check the work before the crew leaves: push every post, look at every weld, count the latch play, and read the warranty. Around Paradise, ground, wind, and summer heat make every one of those checks matter more. If you need a second opinion or a repair on gate work someone else didn’t finish right, that’s what we do, and a live person answers day or night.
For a free estimate in Paradise, call (888) 292-7536. No trip charge inside the county, no haggling on the price, and the number on the invoice matches the address you can drive to.
Written by the team at Gatewood Fence & Gate Paradise.